If you are new to the Android and want to test and develop applications you need to install Android SDK tool integrated with Eclipse editor.
As first step you need to download the SDK for your computer. Select the SDK for you operating system.
Download the Android SDK
Windows: android-sdk_r15-windows.zip
Mac OS X (intel): android-sdk_r15-macosx.zip
Linux (i386): android-sdk_r15-linux.tgz
We are assuming that you have downloaded and installed Eclipse (just download and extract somewhere on you computer).
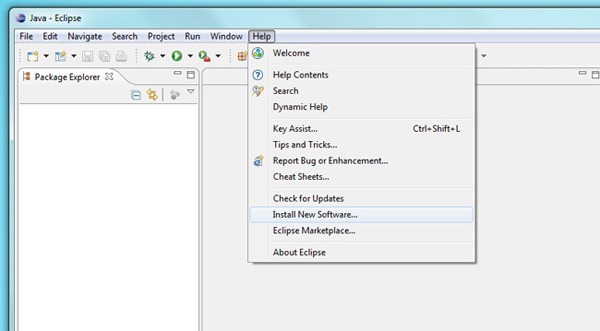
Start Eclipse and go to Help->Install New Software:
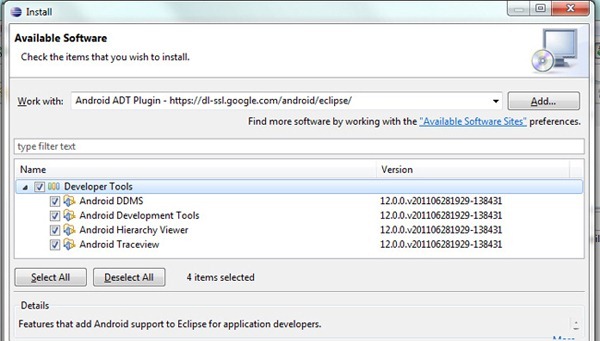
As second step you need to add the repository link for ADT Plugin:
https://dl-ssl.google.com/android/eclipse/
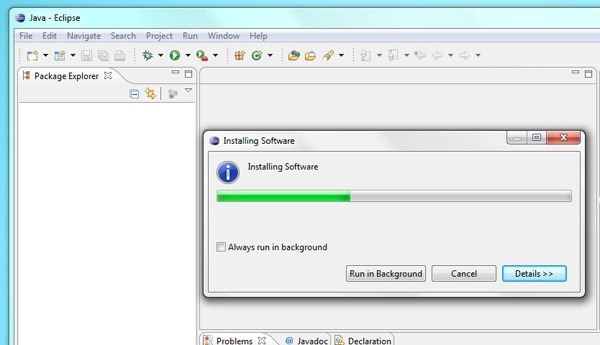
Select the four options and click on Install.
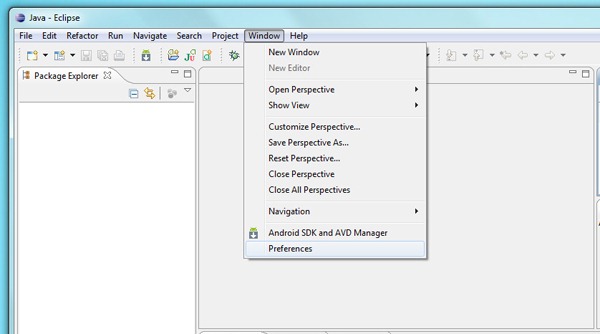
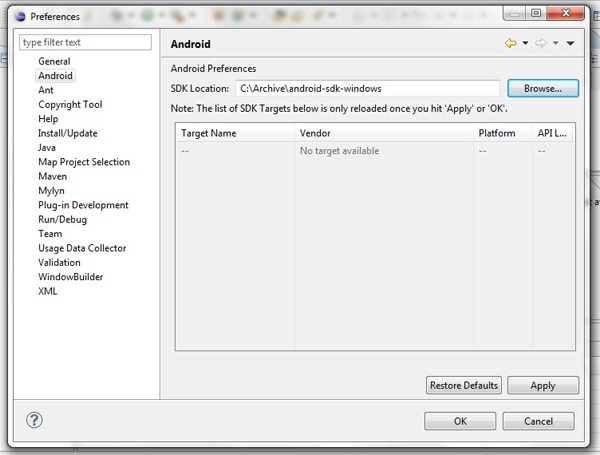
After install finish you have to tell about the SDK location. On Windows select Preferences:
Select Android tab then Browse the folder where you unzipped or installed the Android SDK.
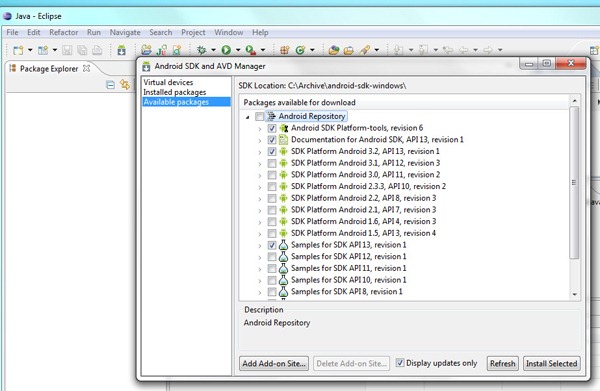
From here I will recommend to install Android SDK Platform-tool, documentation, SDK Platform Android 3.2 and some samples.
The other step is Creating a AVD (Android Virtual Device).
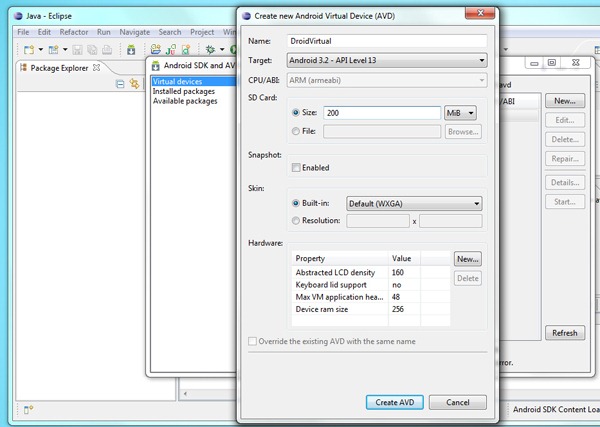
After adding the SDK you need to go on Virtual devices tab and click on New.
Type a name for you ADV and select Android 3.2 ad target. Size of 200 Mb at least click on Create AVD.
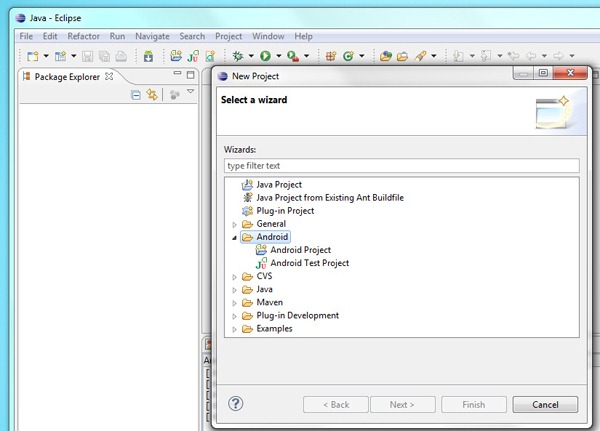
The last step is Creating a Project!
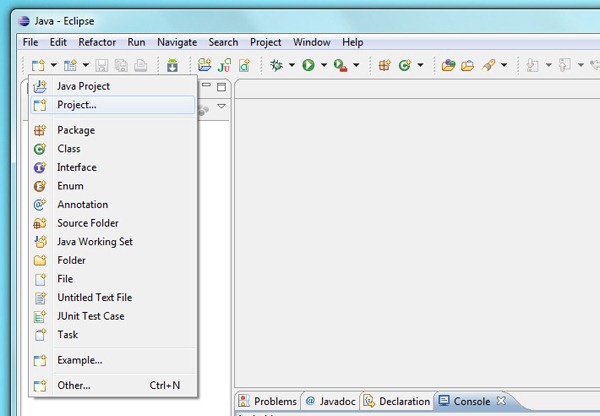
By going to File, new Project select Android Project. Give a name and confirm.
Here are some good tutorials how to start programing Android Apps:
Android Location API and Google Maps
Android SDK: Using Alerts, Toasts and Notifications
Android UI Designs-Basic Controls
Andriod TouchCalculator
For any problems with installation debugging or running Android Apps let us know on the comment form below.
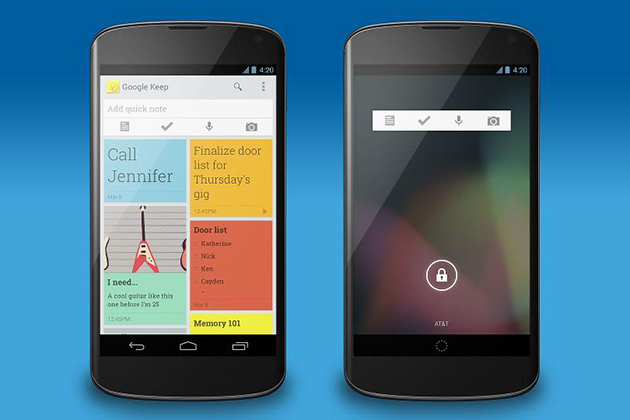
Post image by clondike7, download Android Wallpaper.


