If you are one of those lucky enough to be running Photoshop CS3, I want to show you a neat trick. In CS3 you can very easily change the color of the excess artboard! I just happened to figure this out a night or two ago, so I wanted to post about it right away.
irst of all, CS3 has 4 workspace views now, instead of 3. To change workspace views, the keyboard shortcut is “F.” Just the letter, nothing more. Hit F and you will cycle through the 4 views. (Tip: Hit “Tab” to toggle the visibility of your palettes for easier viewing).
Customize Your Artboard
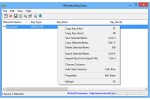
All you need to do is Command/Control + Click (or Right Click) on the area outside of your document to get the customizing options. Here’s a screenshot of that:
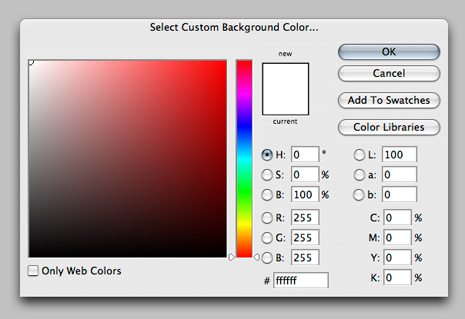
Now, from the popup menu, click on “Select Custom Color.” Now you get the Adobe color selector to set your artboard background to any color your heart desires. This comes in especially handy for bloggers like myself who need to take a lot of screenshots on a specific background color to match the blog theme, and it is always beneficial to have another option, even if you don’t take a lot of screenshots.
Note: since there are 4 different workspace views in CS3, you can change/set a different color for each view! If you want them all to be white, you must set each view to white individually. However, this is a good thing because not every user will want the same color for every view. Thanks Adobe for the added options/customization.
Tutorial By Bittbox